
NetSuite Enterprise Resource Planning (ERP) suite is a package of several business management solutions, such as order processing, project management, inventory management, and accounting, integrated into one system. It provides business managers and accountants with a unified platform, including customizable dashboards and full-featured accounting functionality.
NetSuite offers sophisticated project billing functionality intended for companies that deliver services such as systems integration, software development, building construction, or engineering services. The project billing feature available in NetSuite’s accounting package is more effective when used in conjunction with NetSuite project management software, which is a collaboration tool but can also be used independently.
Companies offering business services typically negotiate different payment arrangements depending on their business models and the requirements of their clients. Some projects may be billed based on a preset fixed price, while others may be billed based on time and materials or delivery milestones.
NetSuite offers four project billing methods, which are described in the table below. The last of these is charge-based billing, which is explained in this article along with instructions for configuring it in NetSuite.
Overview of Charge-Based Billing
NetSuite’s charge-based billing method allows users to customize charges based on charge rules and rate cards. Under this billing method, the client is billed and revenue is recognized based on project-level activities and progress.
Charge Rules
Charge rules are flexible and can be defined to generate charges based on concepts such as time entry (e.g., when consultants log their time against a project) or milestones (e.g., when a client approves a fixed-priced project milestone). The full list of charge rules can be found in the table below.
Rate Cards
Combining charge rules with rate cards provides flexibility to customize charges based on the class of service being offered and the rate applicable to each client. For example, a software development company might define a class of service for the services delivered by a senior software engineer and another class of service for a junior engineer. Each client may agree to pay a different rate for a particular class of service depending on geographic location and volume discount. Rate cards allow the charges to be customized based on the class of service for a specific client.
Billing Caps
Charge-based billing is often used to set caps on the number of hours billed to a client. This feature is helpful for enforcing contractual agreements with clients or limiting excessive exposure to a project. That said, this feature also allows for using a different rate for hours billed above the cap’s limit. Caps are only available for time-based rules under charge-based billing and are not supported by fixed-fee or expense-based rules.

Using Rules
Using Rules
Instructions for Using Charge-Based Billing in NetSuite
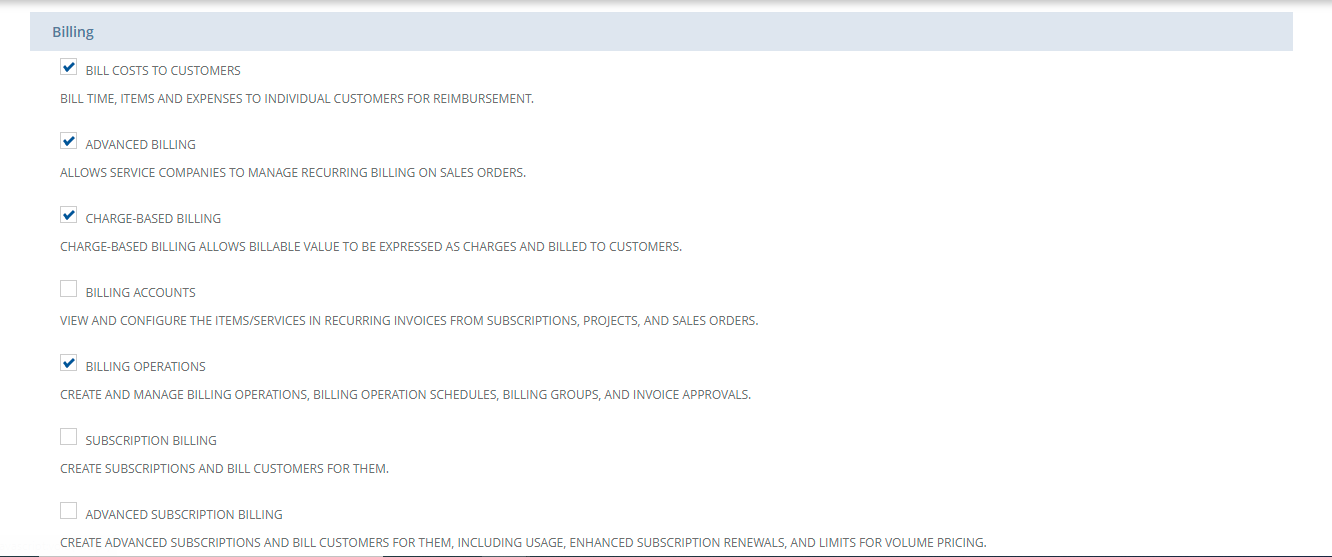
To start using Charge-Based Billing, go to Setup > Company > Enable Features > Transactions under Billing. The Project Management and Advanced Billing features must be enabled in order to use Charge-Based Billing.
Creating Charge-Based Projects
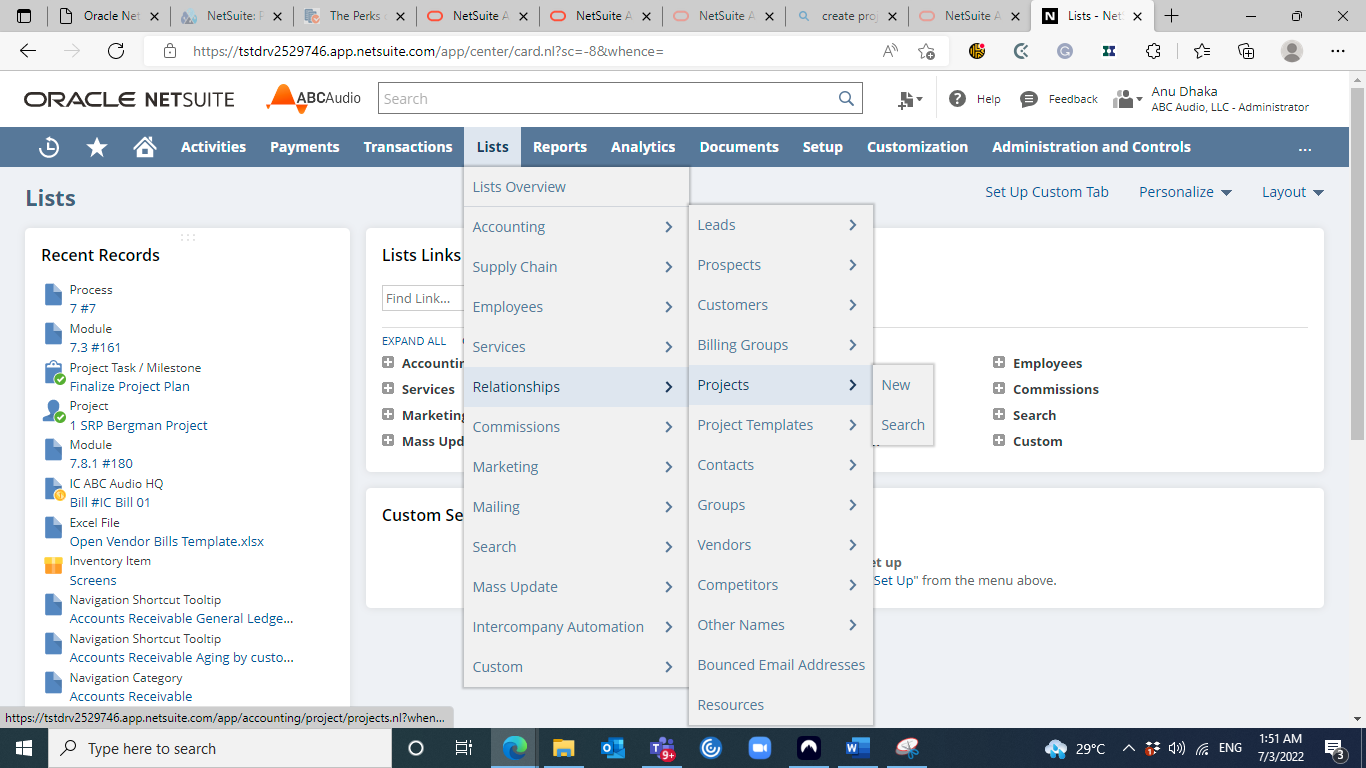
Projects for which charge-based billing is used generate charges as billable amounts. To create a Charge-Based project, first create a new project record by going to Lists > Relationships > Project > New.

Scroll down to the billing information under Financial and select Charged-Based as the billing type. Choose a billing schedule and enter other project information. Click Save.

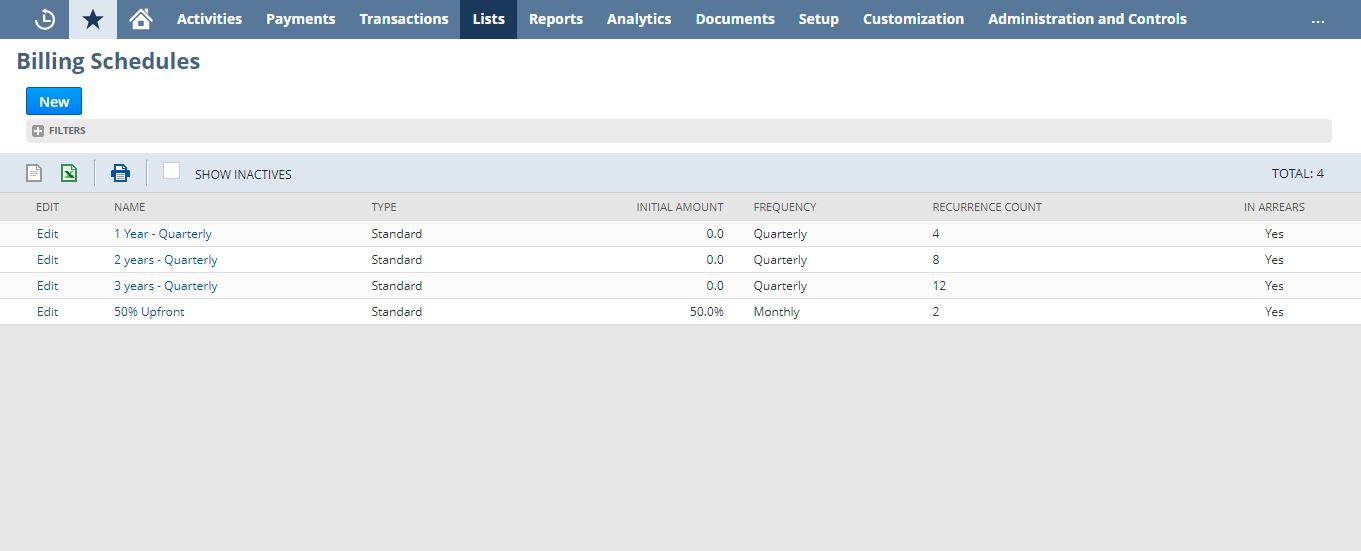
A billing schedule is a schedule to bill sales over a period of time or a contract term. The billing schedule manages the billing process by tracking when to invoice customers. Under sales orders, a billing schedule can be applied to the entire order or by line item, as required. The project billing schedule reports provide the details on how to bill the customer over time.
To set up new billing schedules, go to Lists > Accounting > Billing Schedules > New.
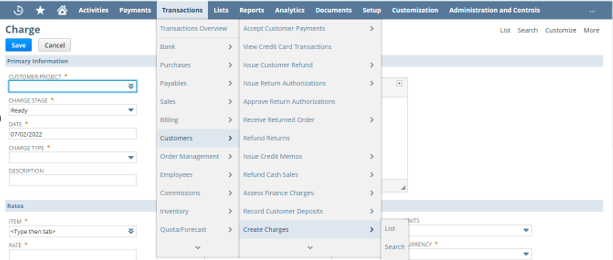
Create new charges by going to Transactions > Customer > Create Charges.
Charge-Based Billing Rules Setup in NetSuite
The next step is to set up charge rules, which are created to calculate billable charges for project activity automatically based on:
- Milestone completion
- Fixed fees generated on selected dates or at selected intervals
- Project progress records
- Expenses entered
- Purchases entered for the project
- Time/hours entered for the project
Billing Rate Cards
Billing rate cards integrated within the charge-based billing feature provide the option to customize rate cards for specific customers or select general rate cards available for billing the projects. To enable this feature, go to Setup > Company > Setup Tasks > Enable Features and click Employees. Under Time & Expenses, check the Billing Rate Cards box. Click Save. To create a billing rate card, go to Setup > Accounting > Setup Tasks > Billing Rate Cards > New. Enter the necessary information, such as the rate card name and price. Click Save.
Generating Charges
The charge is the amount calculated from charge rules and billed to a customer. Charges are generated regularly for projects that are in progress. For projects with milestone rules, charges are generated when milestones are completed. The user can either create a billing schedule according to the project specifications or select a standard schedule for a particular project.
Charges can be created manually by navigating to Transactions > Customers > Create Charges.
Invoice Process Flow with Charge-Based Billing
Charges related to projects are visible under the charges sublist under the Financial subtab. Those charges marked as "ready" are ready for invoicing and can be invoiced using Billing Operations.
Billing Operation Setup
Invoices can be generated for all the customers or for a specific customer. To enable billing operations, go to Setup > Company > Setup Tasks > Enable Features > Transactions > Billing > Billing Operations. Click Save.
Project Billing Report
The Project Billing Report contains the billing details of projects. This report includes the billings to date, any pending charges, the total current billing amount, and the forecasted billing amount for each project. Users can filter the information in this report by project status by changing the Customer Status field. To access the Project Billings report, go to Reports > Time & Billables > Project Billing Report.
The Project Billing Report feature gives a snapshot view of projects' progress and billed value to keep a check on the billing activity.
Project Revenue Rules
A Percent Complete project revenue rule recognizes revenue at a rate equivalent to the project's progress. The Percent Complete Override subtab is used to define project revenue recognition.
To create a percent complete revenue rule, navigate to List > Relationship > Project. On the Financial subtab, click Project Revenue Rules and then click New Percent Complete Rule.
Estimated Work
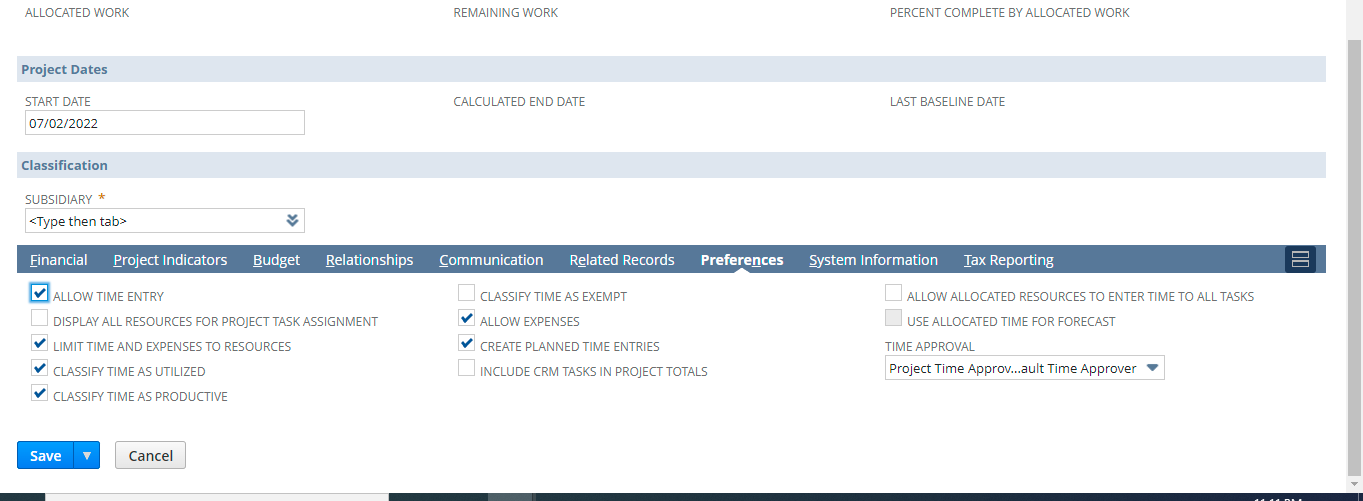
On the preference tab, enabling Create Planned Time Entries will populate the estimated work field. Estimated work is used to calculate the estimated revenue.
Revenue Reconciliation
Once the project is completed and all charges are billed, revenue and charges can be reconciled for reporting purposes.
When charge and project revenue rules are utilized, NetSuite uses forecast charges, estimated charges, and revenue. The actual charges may differ from these estimates. It is crucial to close each project by marking it billed to reconcile charges and revenue with actual numbers.
Marking a Completed Project as Billed
Once the project is marked as completely billed, revenue and charges are adjusted to be reconciled with actual charges.
After the project has been marked as completely billed, the status of the project is fixed and cannot be changed. The completed project can be reopened by clicking the Open Project option but must be reconciled again when all charges are billed.
Benefits of Charge-Based Billing
The following table summarizes this feature’s value to managers and accountants.
Best Practices for Charge-Based Billing
We would like to leave you with a few recommendations based on best practices.
- Save time by creating a sales order from a project and then billing for the sales order. The sales order will capture all of the service items contained in the project and simplify the billing process. This NetSuite documentation page explains how to create a sales order from a project.
- To avoid too many service line items on a bill, don’t let project tasks get too detailed. Fewer tasks that have durations aligned with billing periods make the bills more clear to clients and project managers.
- Use subprojects for more detailed tracking. Subprojects are a feature provided by NetSuite for complex projects with several activities that need to be charged separately.
Conclusion
Charge-based billing is one of four project billing types available in NetSuite that generate charges based on preset rules. Using charge rules and rate cards, charge-based billing allows accountants and business managers to collaboratively define ground rules at the onset of a new client engagement by capturing the financial terms of the client agreement and using it to generate ongoing bills based on project activities. The charge rules can be based on time entries (e.g., hours spent in delivering the project), incurred expenses (e.g., costs associated with a software license including a predefined markup), a fixed fee, or purchases (e.g., sales transactions). Charge-based billing is most effective when used together with NetSuite’s project management collaboration tool, but it can also be used independently.


